

Creating floral panels
Welcome back to my floral adventure project. If you want to start at the beginning go here.
The first step I took was to cut out 2 panels for the sides of my quilt. From the darkest blue in the collection I cut 2 - 6” x Width of Fabric panels. That leaves me with one additional 6” strip to use in the piecing process.
The first decision was - do I do this entirely using my raw edge appliqué technique, or just fool around? I decided I didn’t want to do solely raw edge on the side panels. I’ve got a lot of skills, and I want to show them off.
Goals for the panels
Variety of flowers
Needle turn appliqué, for finished edges
Improvisational construction
One panel in pinks/purples, reds/oranges for the other
Loose symmetry
Add loads of detail with embroidery
Allow spontaneous inspiration to drive the process
I decided on turned bias tubes for the stem wandering up the center of the panels. I cut a bunch of 1 1/2” wide strips at a 45° angle, making sure I could easily cover the panels from top to bottom. That process was very easy, and everything was pinned down and ready to stitch on the airplane the next day.
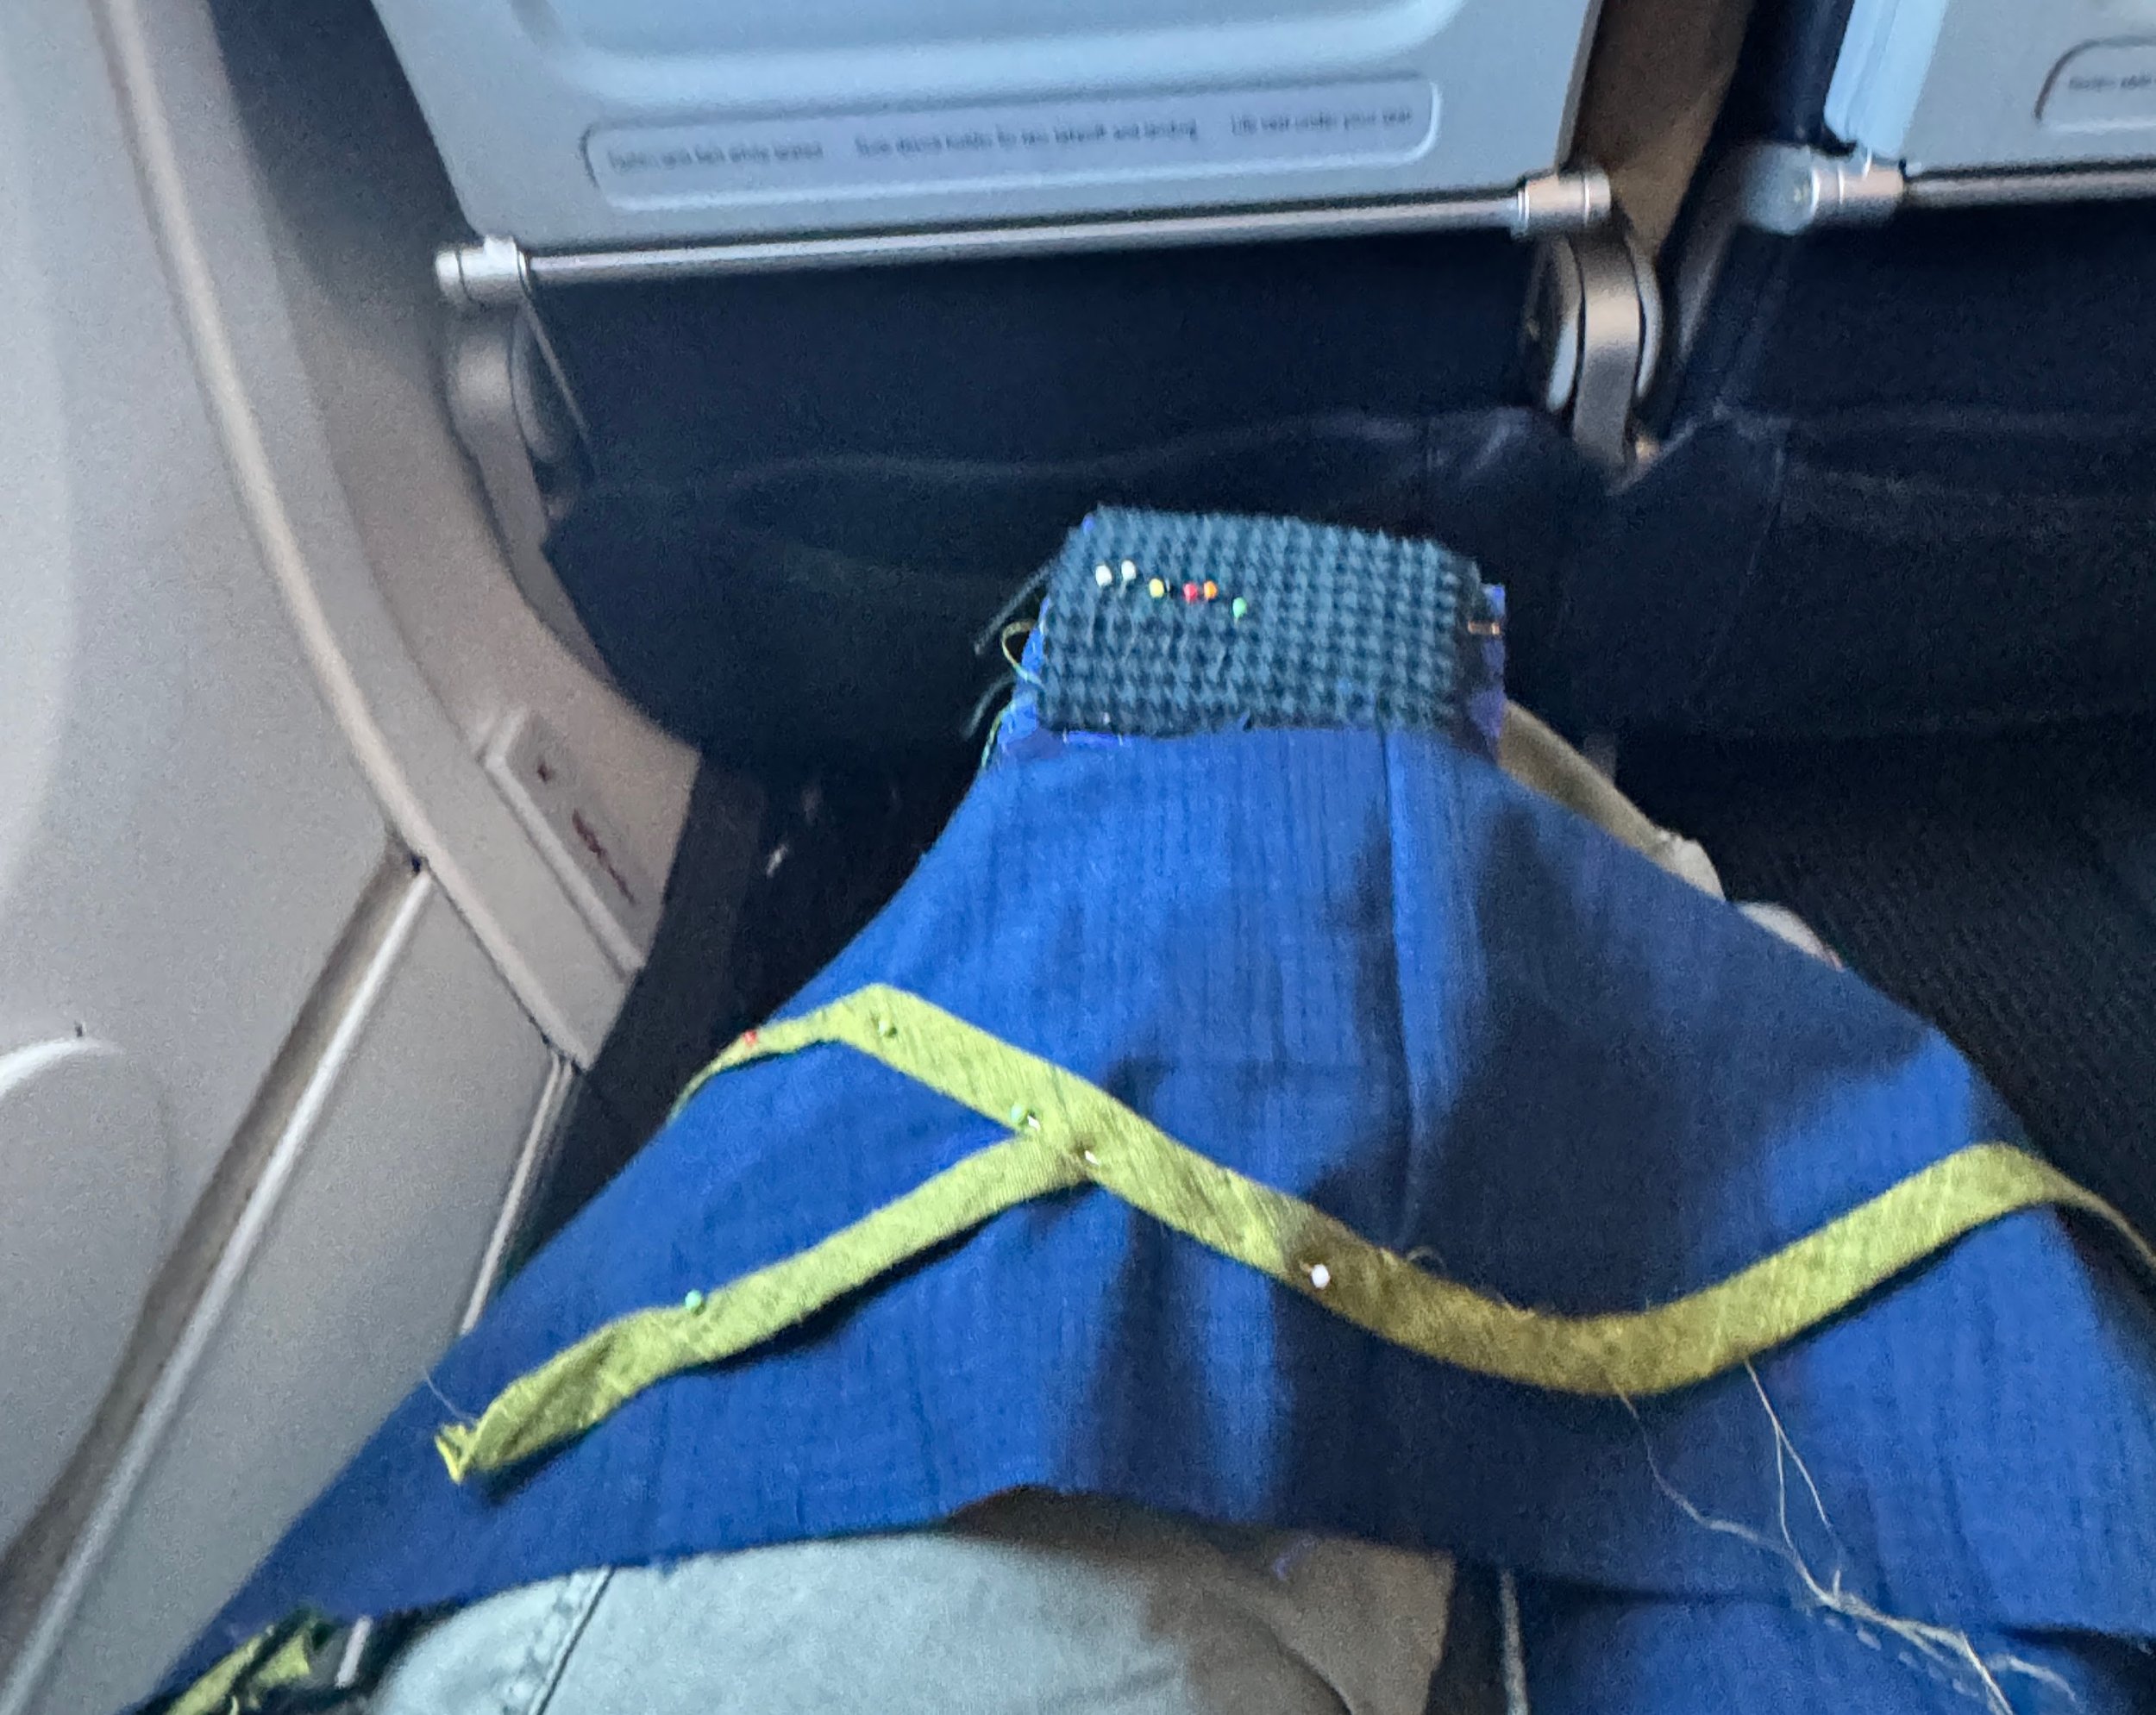
I always have sewing while traveling.
I stitched the stems on my flight to Quiltville. I simply cannot be on an airplane without stitching. Something fairly simple - not a lot of things that can be dropped is perfect. I bring a pair of blue handled Karen K Buckley scissors. The first time I brought them was an accident. Now I’m just not worried. If you would be devastated to lose your nice scissors, get cheap ones. (The math changes a bit when you have a wholesale account.)
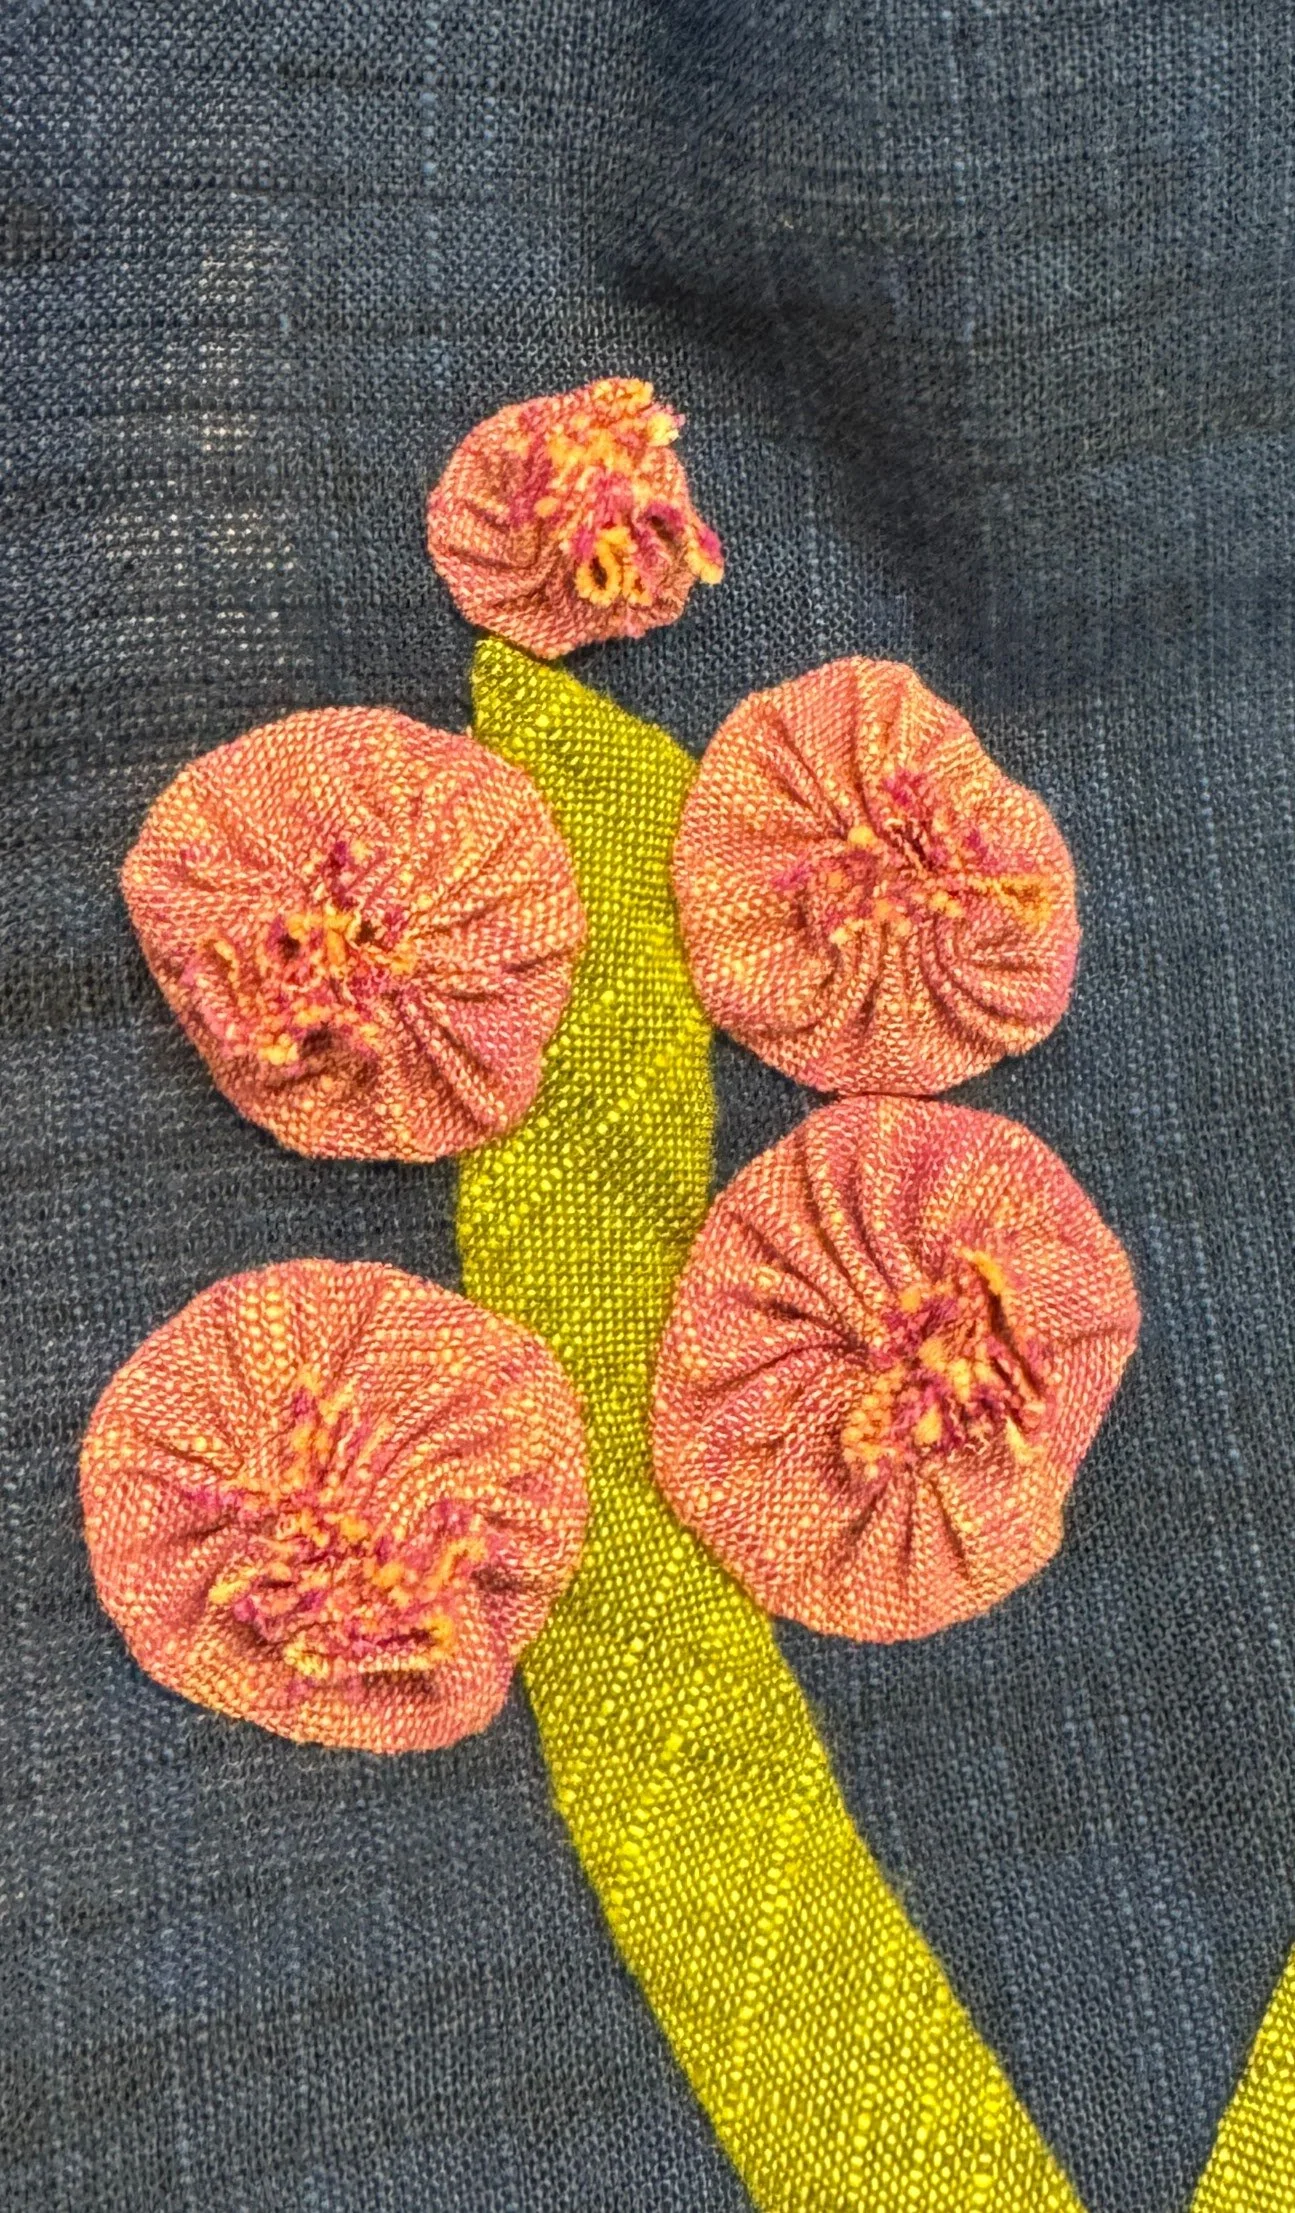
The first flower I did was a yo-yo foxglove/hollyhock. I did 5 yo-yos, and liked it, but it wasn’t singing. Bonnie Hunter and I looked at it and decided it needed more yo-yos, and wow, what a difference.
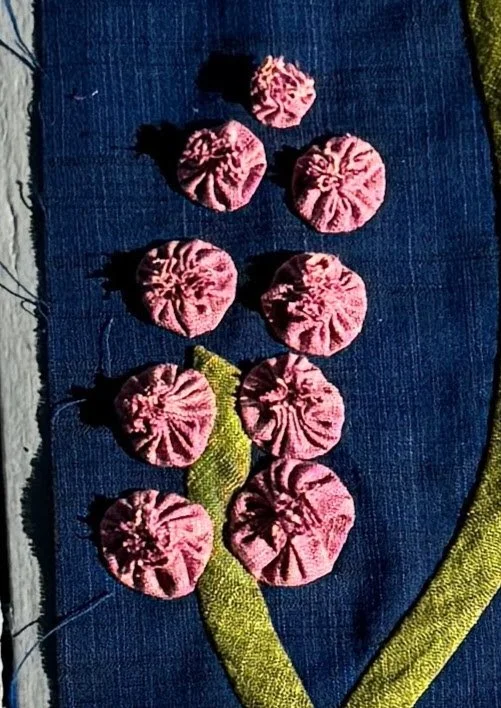
A note on the yo-yos. These were inspired by an old yo-yo piece I brought with me to get Tara Miller’s input on it. It was made by my great grandma out of a collection of fabrics from the 60’s.
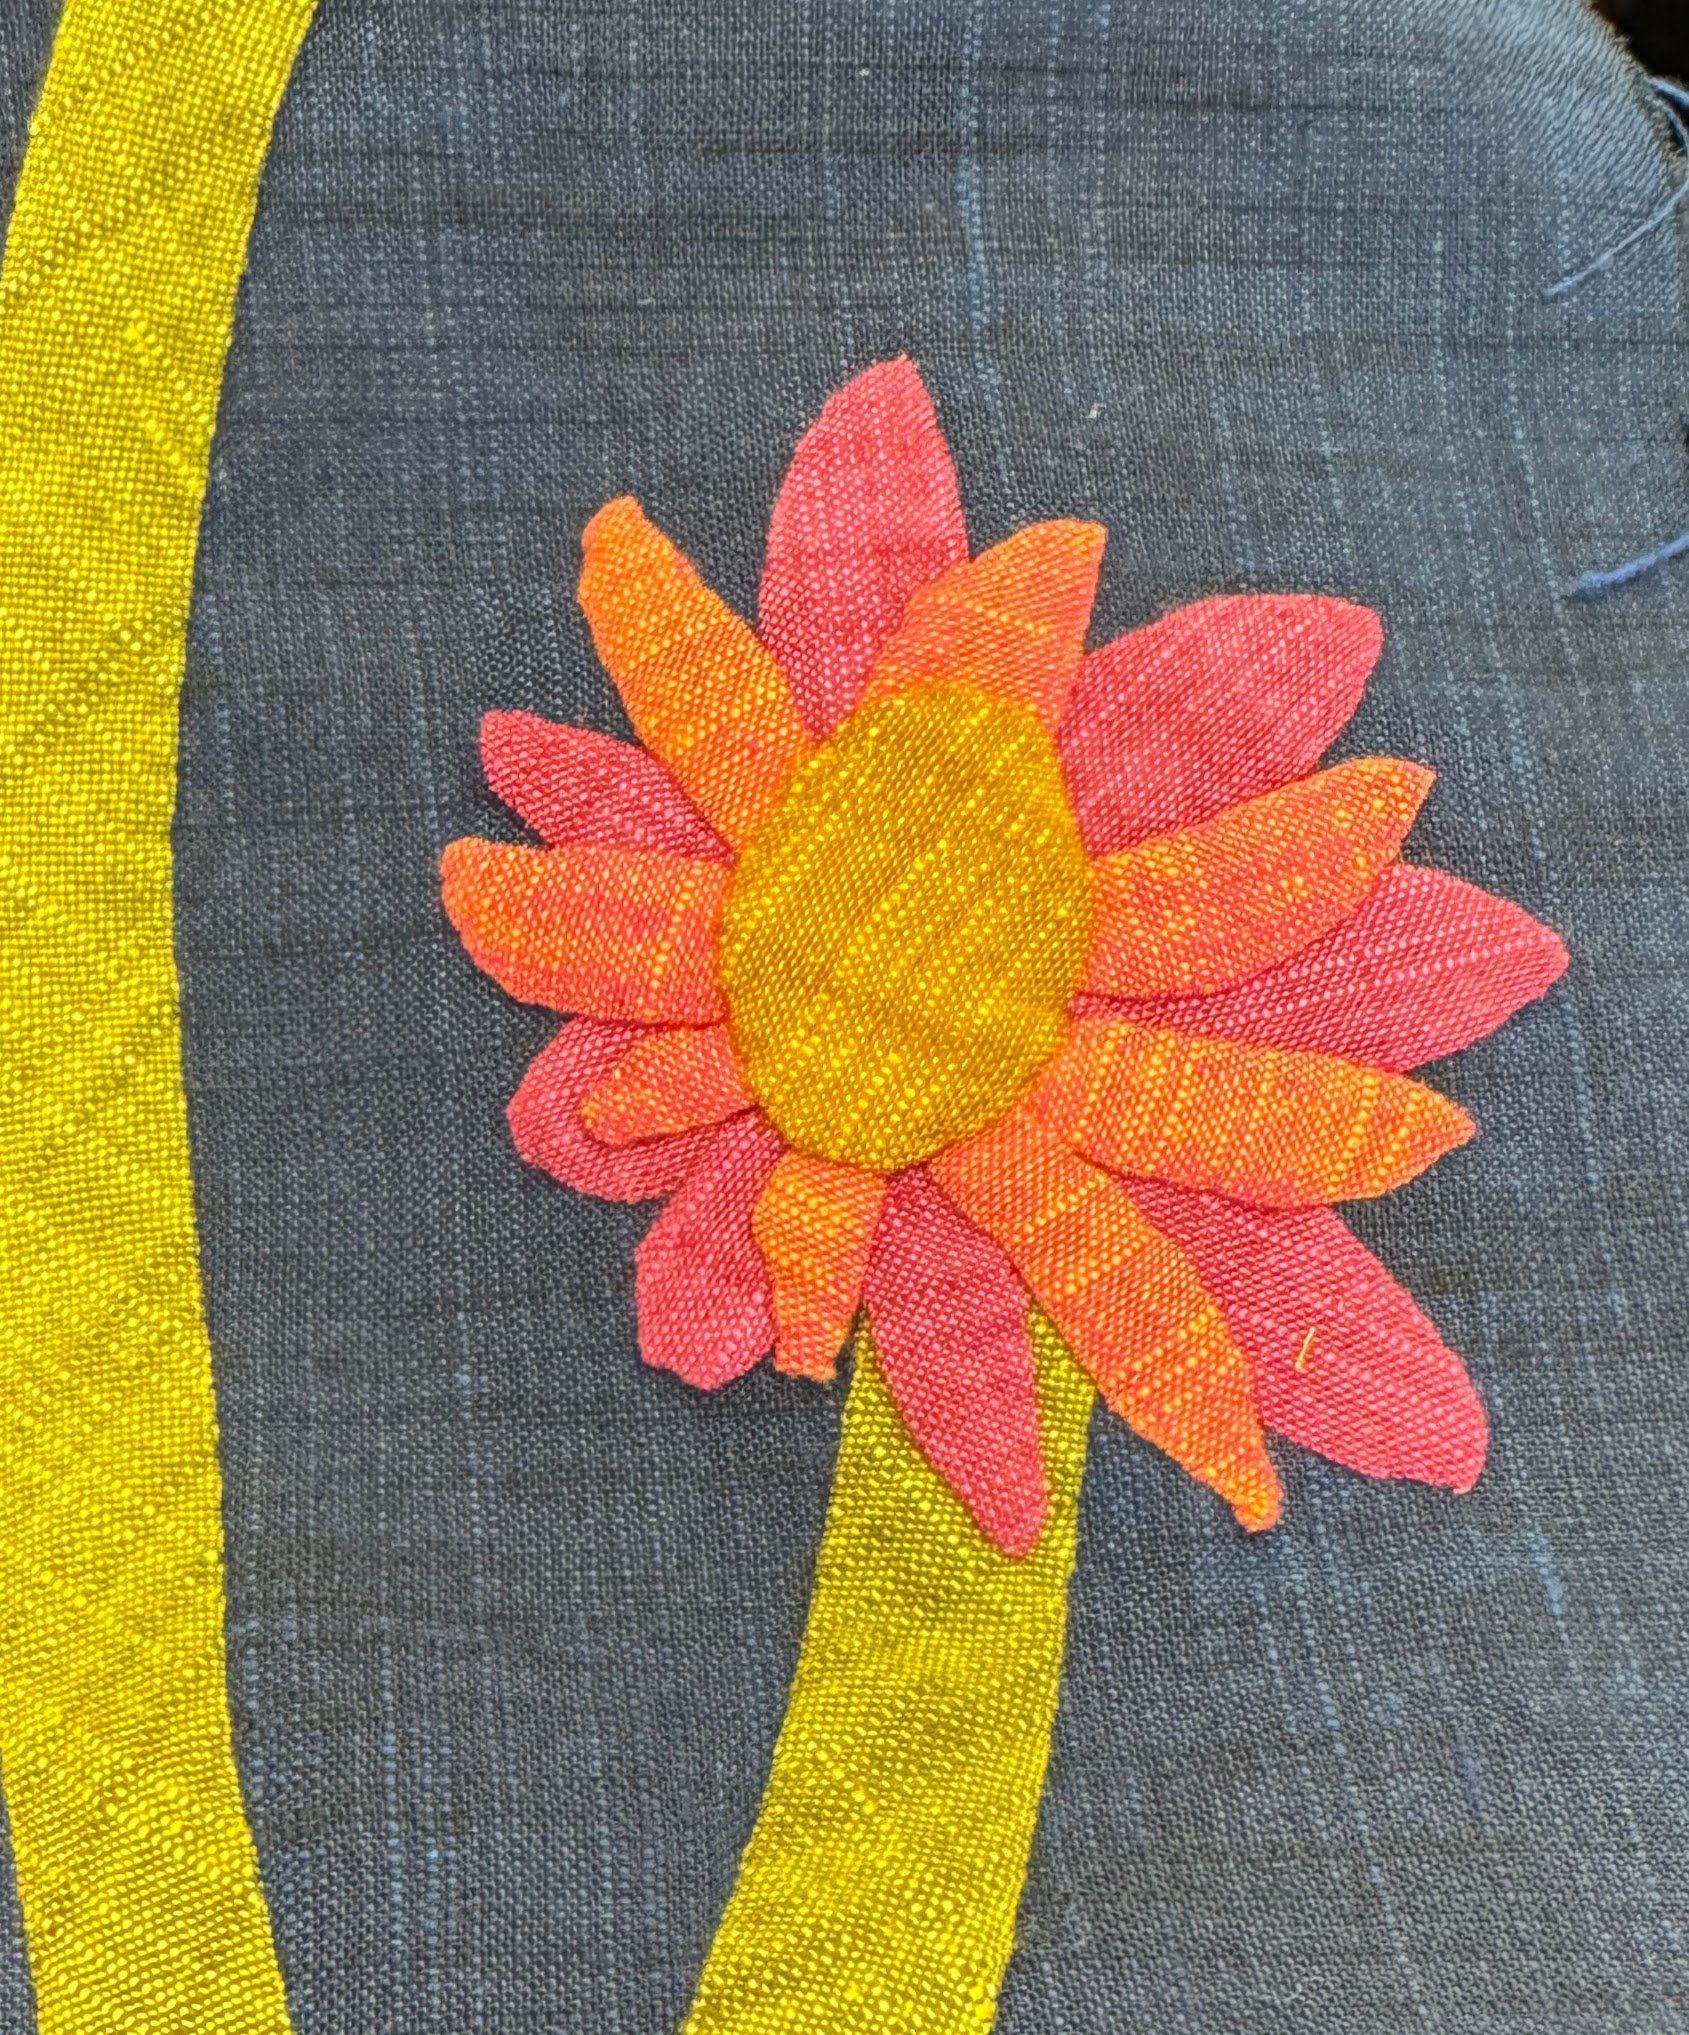
Next was a “sunflower”. Just lots of petals cut out and stitched down. Multiple layers always give such a pleasant texture.
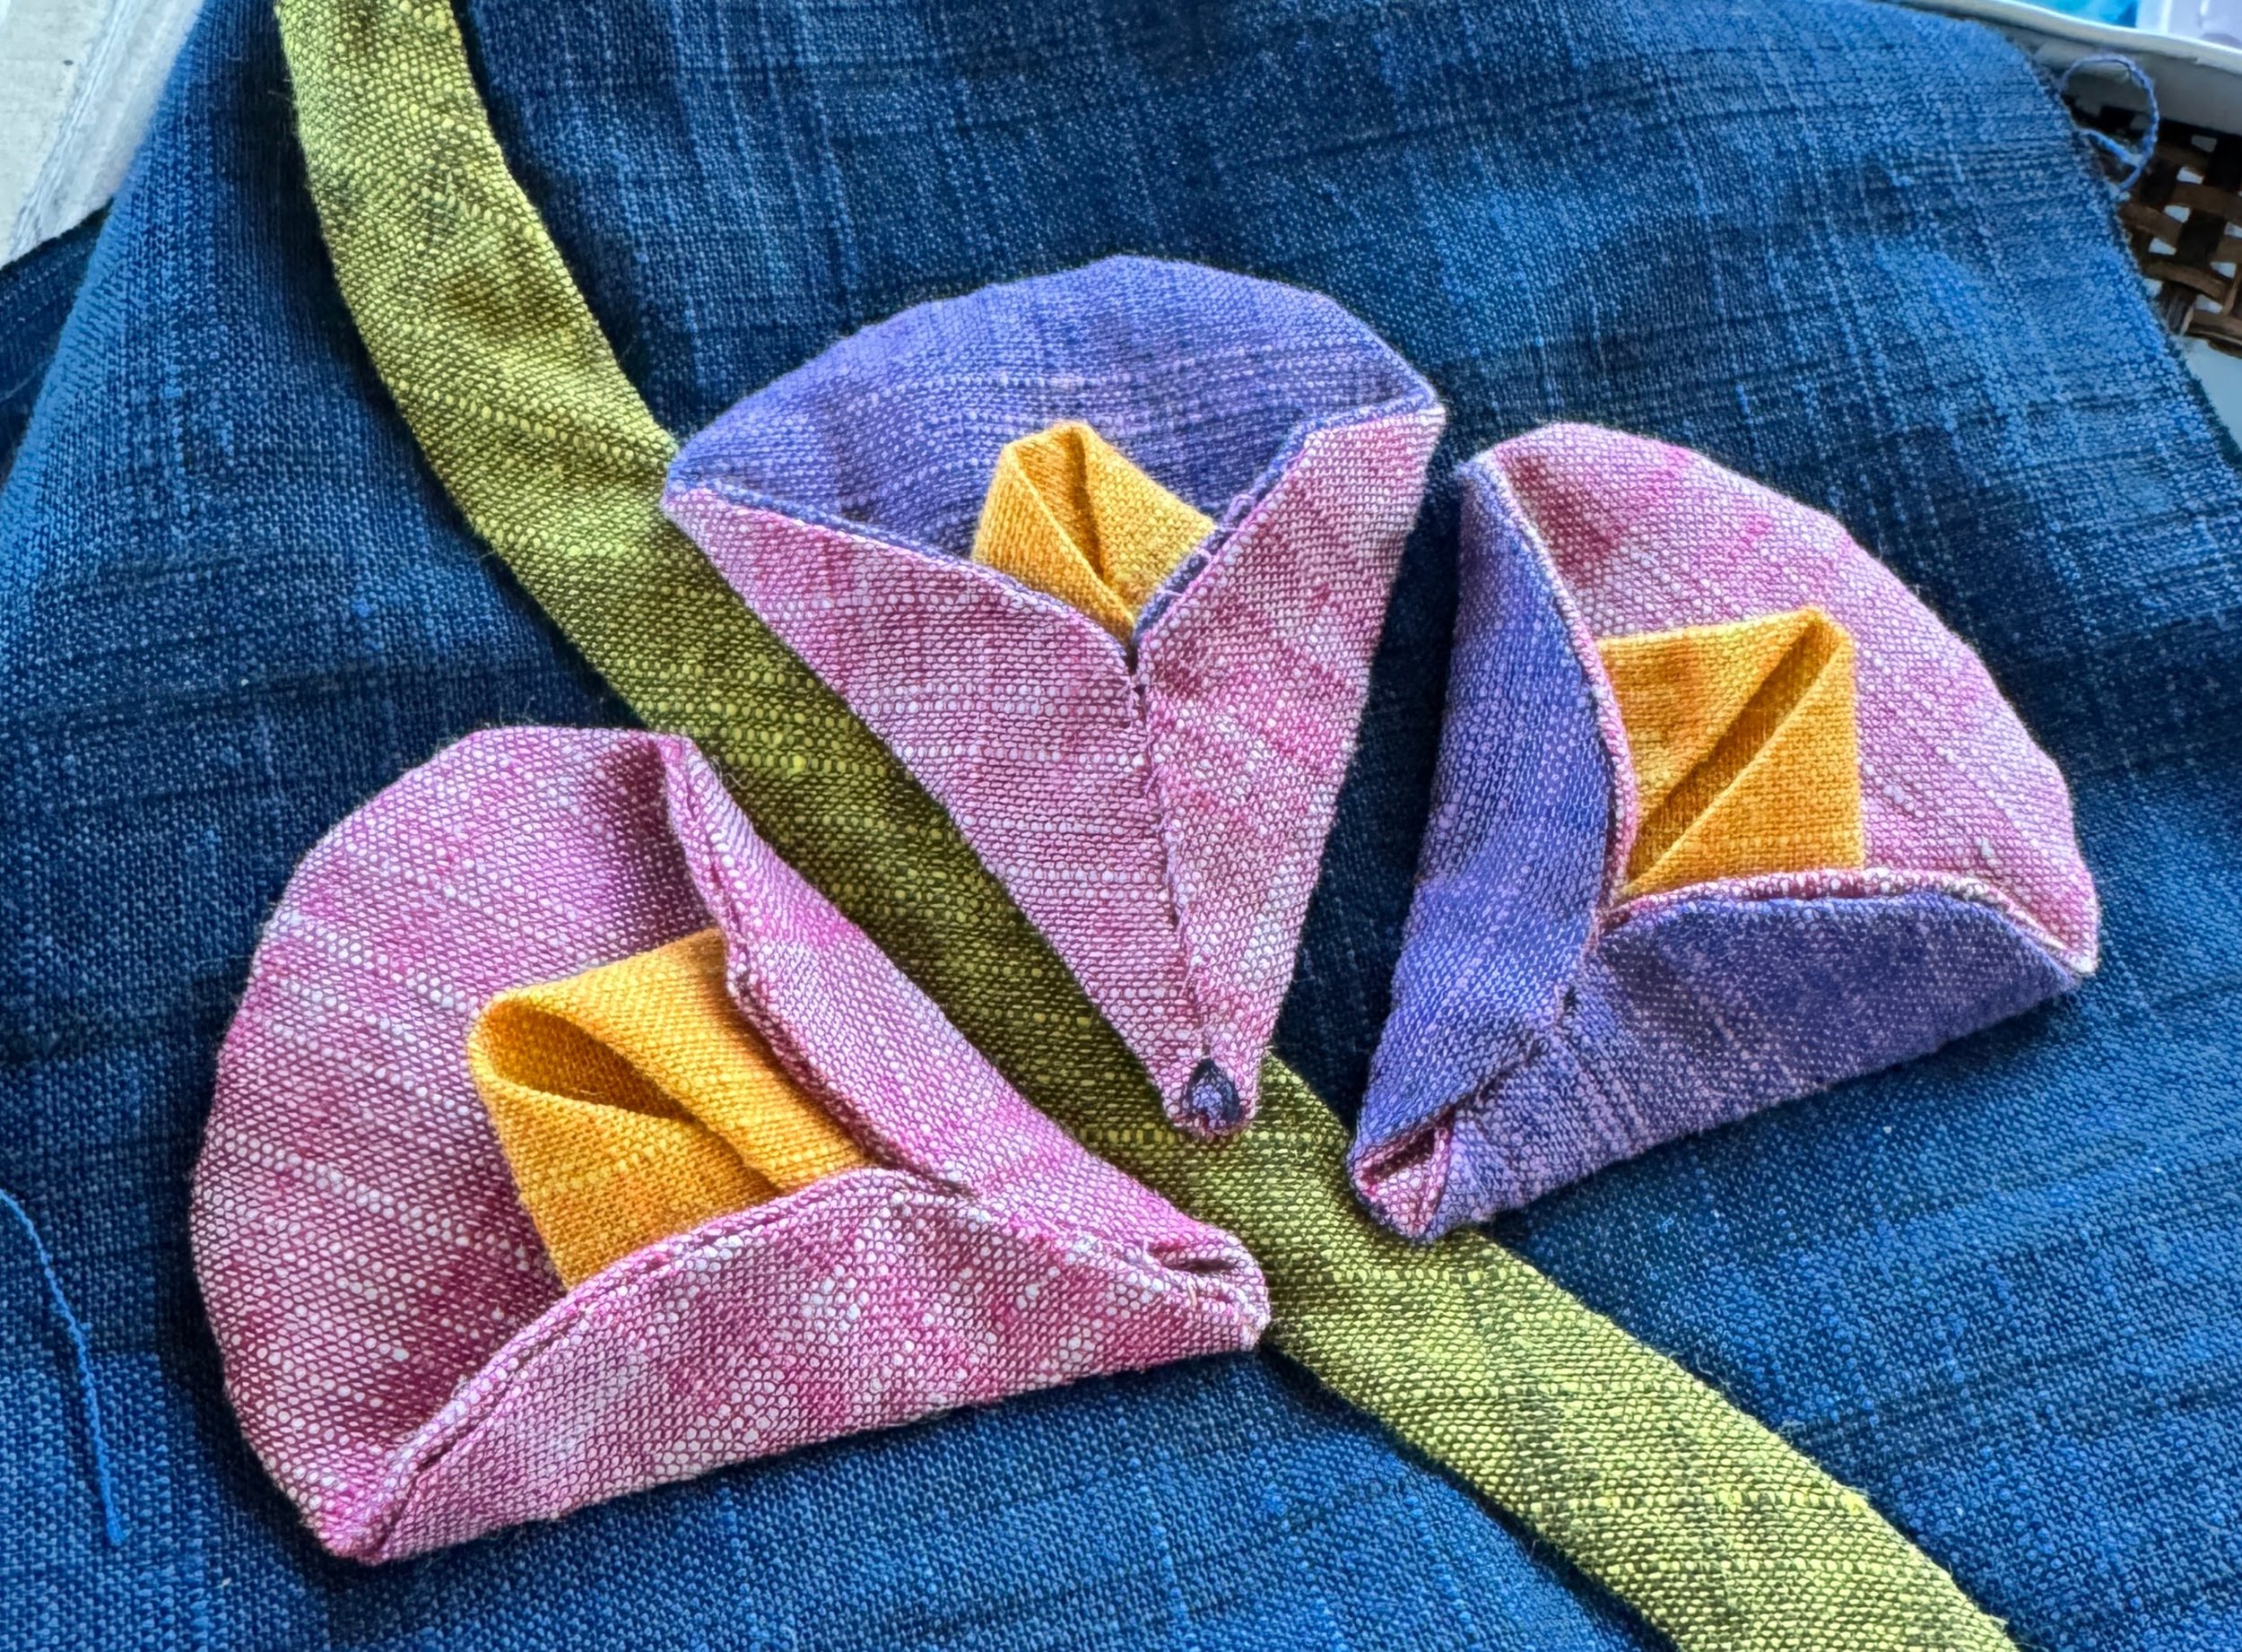
Back to circles, but I didn’t want to do more yo-yo’s. I want to use many, many techniques. I was thinking about the flowers I made using wool felt. These are two circles stitched together and turned right sides out for a finished edge. They get folded around a tiny prairie point. I love them.
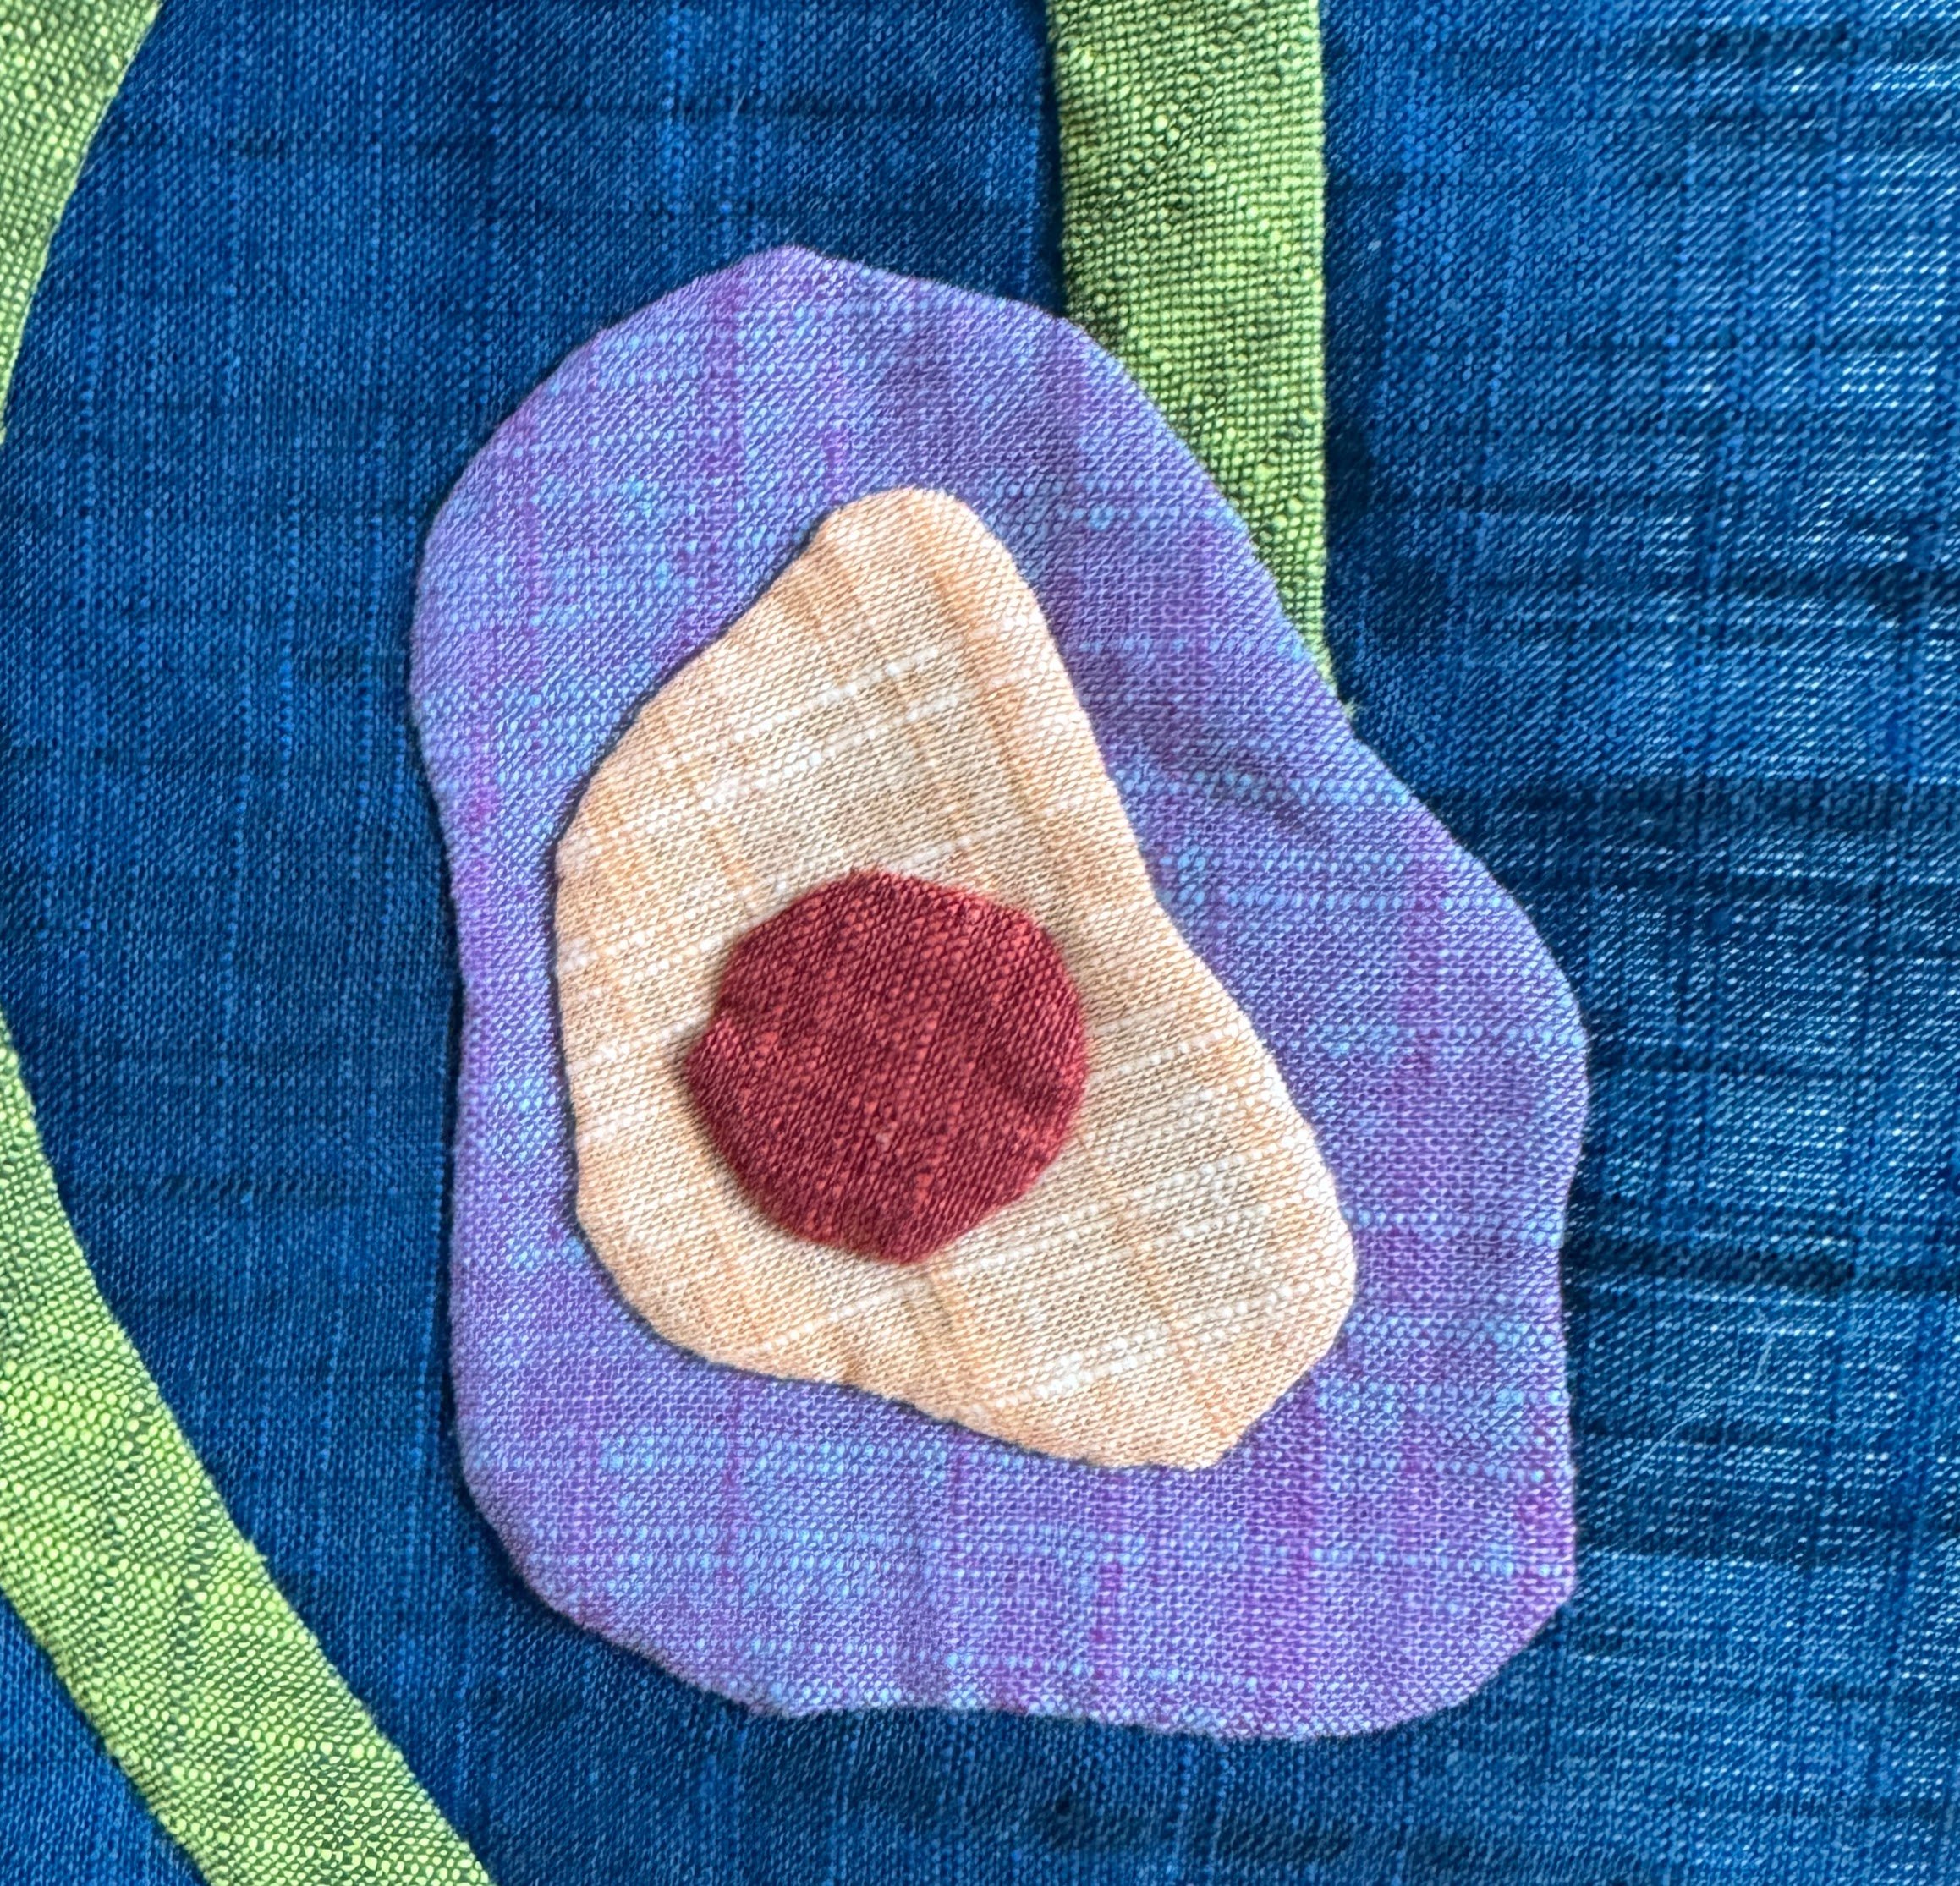
I did a fried egg flower, which I enjoy, but this one isn’t singing to me, either. It may come out for lack of vitality, or it may stay as a spot to rest your eyes. Or maybe it just needs some embroidery.
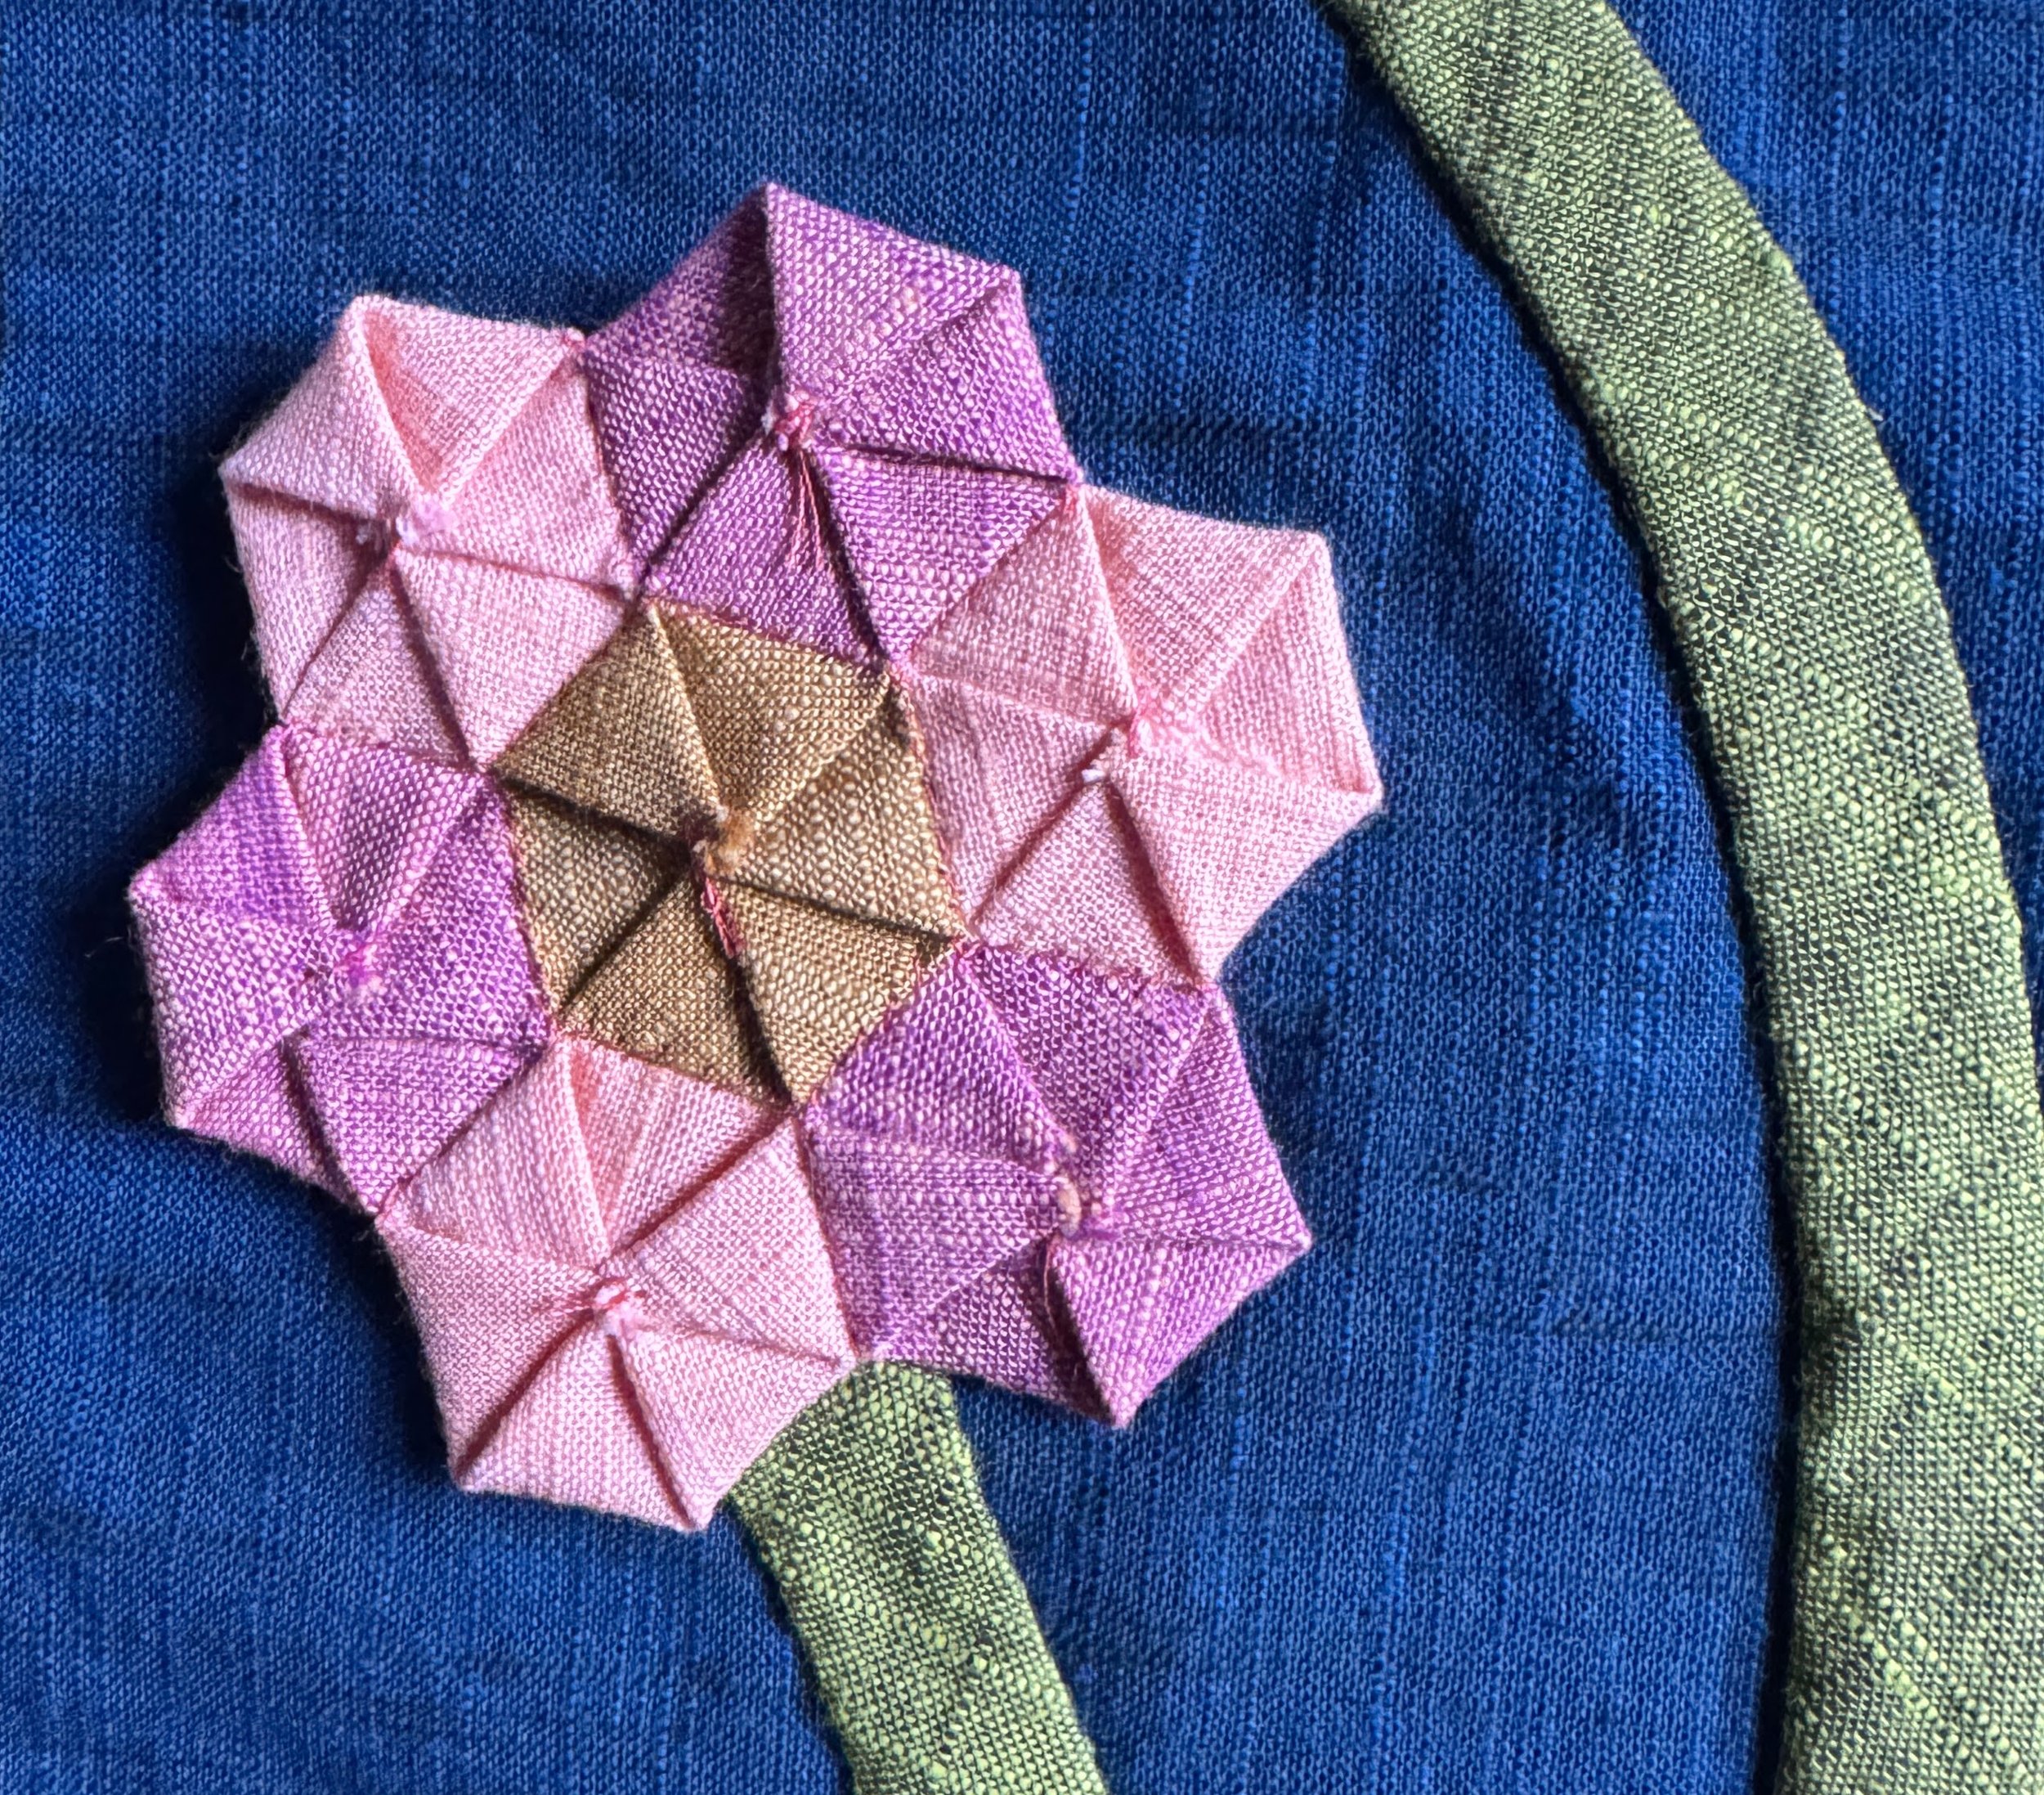
I saw someone make tiny hexies using circles and tried it. LOVED IT. My hexies are stitched into flowers, but I left the folded edges face up, for more interest.
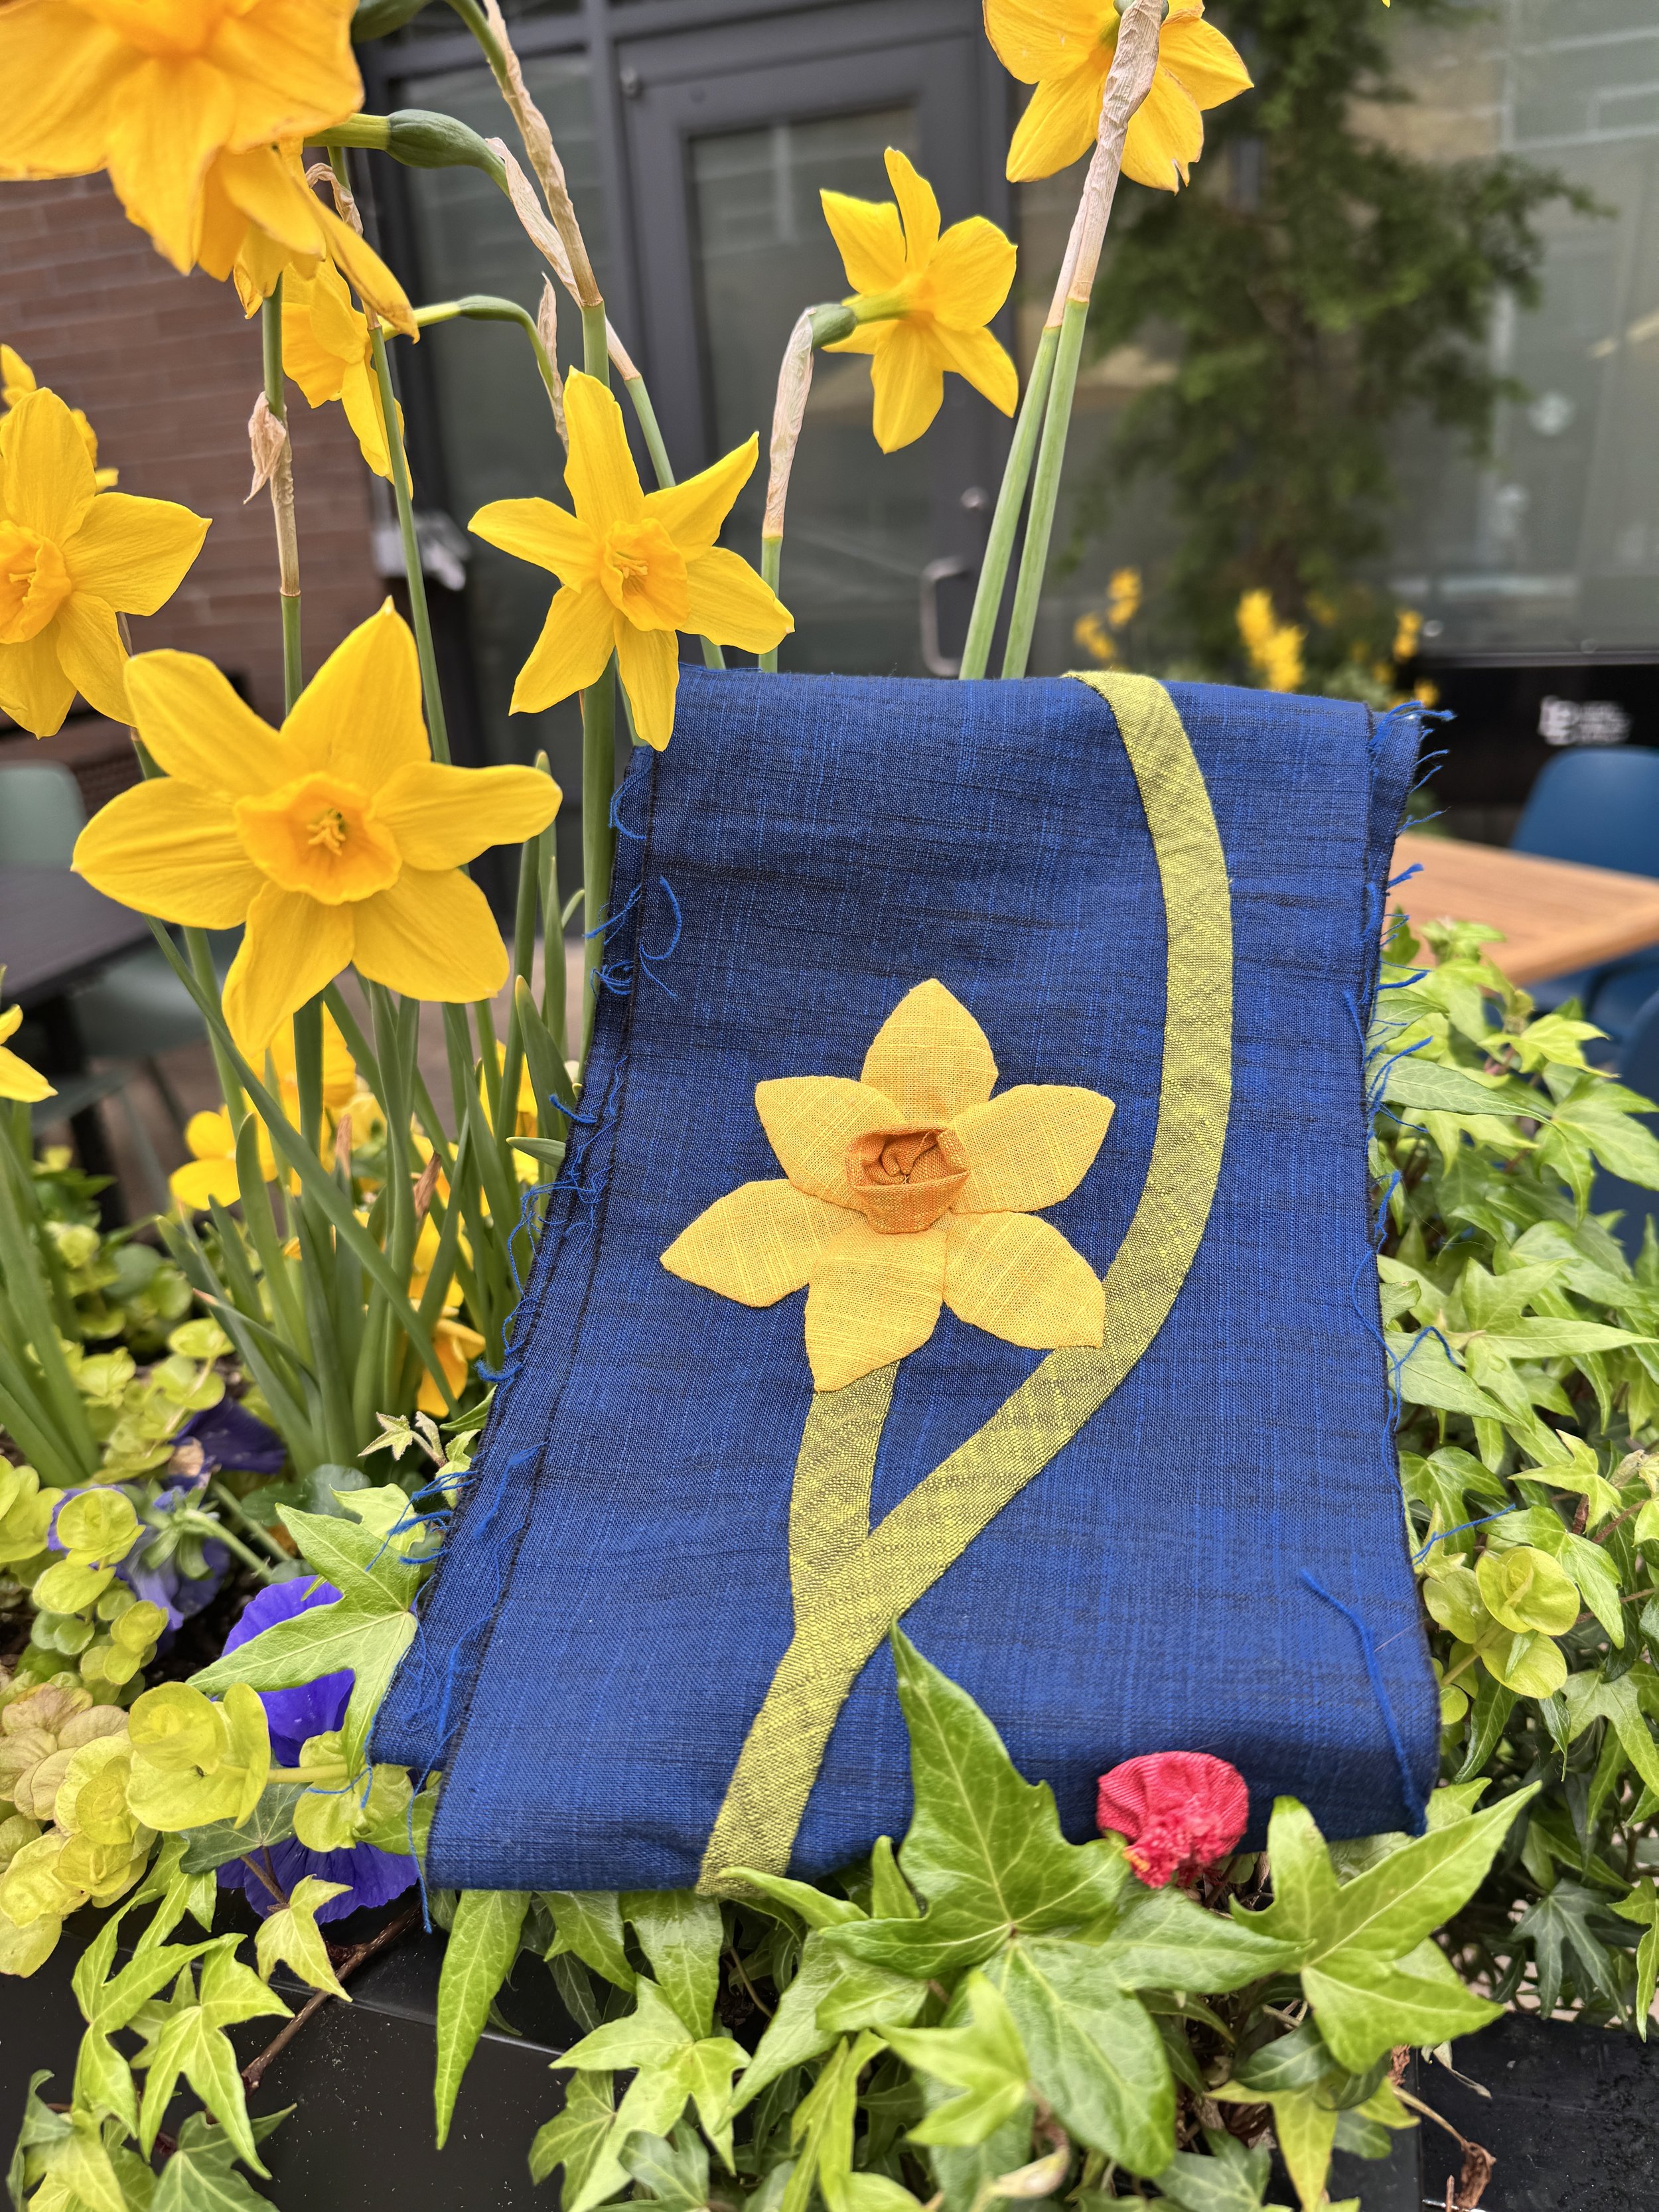
I suddenly felt like I was out of ideas. Nothing came to me for a few days. I started to panic a bit. Amazon to the rescue - I found 2 books on dimensional flowers by Sharon K Baker, and I am off to the races again. This daffodil came just in time for a trip to Seattle. I saw these flowers and was upstairs stitching this one and back down for a pic the same morning. Daffodils don’t last forever!
I have been having so much fun with these flowers. I’ve decided that they will be the focus of my next on-demand class. Video making will start in June, as May is going to be so busy.
Ok. I’m off to fool around and explore Seattle. This is the first time in several years I’ve been able to join my husband on a business trip. He’s off being Mr. Important and impressing corporate folks and I get to play and take advantage of a posh hotel room. Life is good.